Log Settings
Use Log settings to control which events Plaivid records and where it sends or stores them.
To open the window:
- Select Log from the sidebar.
- Select Log settings above the log table.
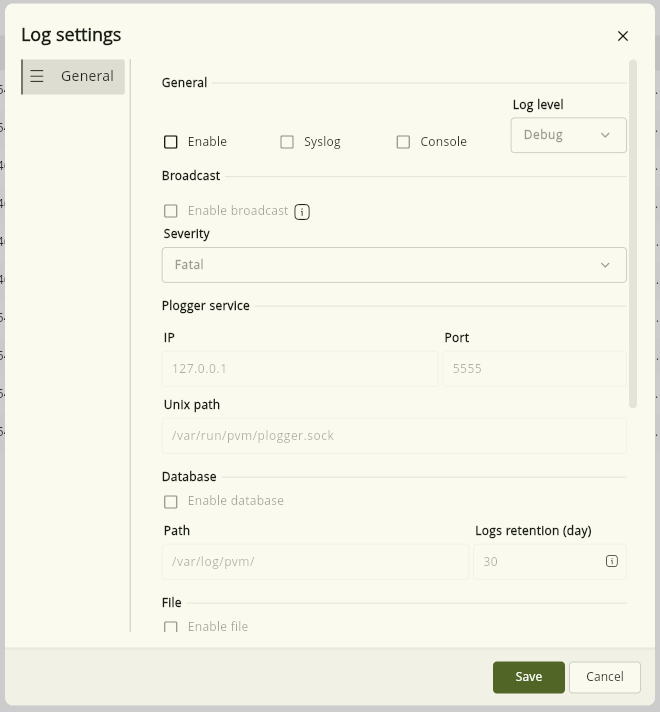
The Enable option is the master switch for logging. When it is cleared, the remaining settings are unavailable. Select it before configuring any output.
General Settings
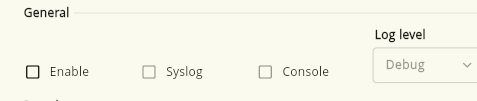
-
Syslog: Sends log entries to the local system log.
-
Console: Writes log entries to the console output.
-
Log level: Sets the minimum level that Plaivid records and displays. After you save the setting, entries at the selected level and more severe levels are retained. Existing entries are not changed.
The available levels are ordered from most severe to most detailed:
| Level | Meaning |
|---|---|
Fatal | A critical failure that prevents a service or major operation from continuing. |
Alert | A condition that requires prompt administrator attention but may not have stopped the service. |
Error | An operation failed or produced an unexpected result. |
Warning | An unusual condition or risk that does not currently prevent operation. |
Notice | A significant normal event that is useful for operational awareness. |
Info | General information about normal system activity. |
Debug | Diagnostic information intended to help investigate behavior. |
Verbose | More detailed diagnostic information than Debug. |
Trace | The most detailed event-by-event diagnostic output. |
Info and the more severe levels usually contain the information most useful to operators. Debug is the usual setting when more diagnostic detail is required.
Trace can generate a very large volume of log data. Enable it only when the additional detail is required, and monitor available storage.
Broadcast
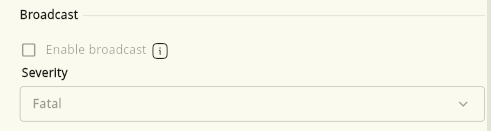
Enable Broadcast to distribute log entries between PVM nodes.
Use Severity to set the minimum level of entries that are broadcast. This setting is available only when both logging and broadcast are enabled.
Broadcasting log entries consumes cluster resources, including network and processing capacity. Enable it only when you need to view logs from all PVM nodes on a single server within the cluster.
Plogger Service
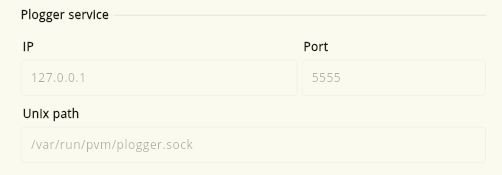
The Plogger service fields define how the logging service is reached:
- IP: IPv4 address of the Plogger service.
- Port: Service port, from
1to65535. - Unix path: Path to the Plogger Unix socket.
Keep the configured values unless your Plaivid deployment uses a different Plogger endpoint.
Database Storage
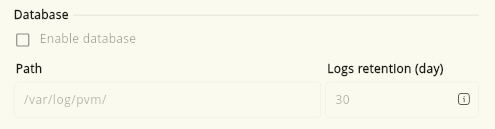
Select Enable database to store log entries in the configured database location.
- Path: Directory used to locate database.
- Logs retention (day): Number of days to retain the entries, from
1to365.
File Storage and Rotation
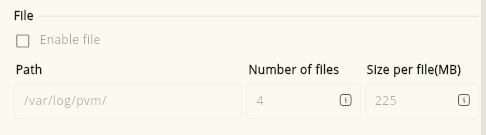
Select Enable file to write logs to files and control their rotation.
- Path: Directory in which the log files are stored.
- Number of files: Maximum number of rotated files to retain, from
1to52. - Size per file (MB): Approximate size limit of each file, from
1to1024MB. When a file reaches the limit, logging continues in a rotated file.
The file count and size limit determine the approximate disk space that file-based logging can consume.
Remote Logging
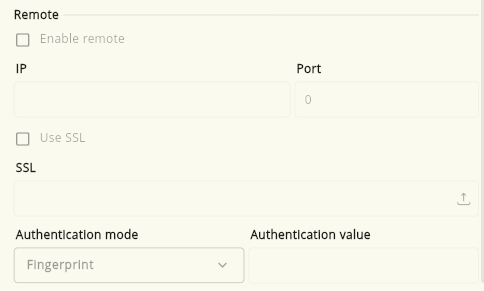
Select Enable remote to send log entries to a remote log server.
The destination server must run rsyslog and be configured to receive remote log messages from PVM. PVM uses an rsyslog server as the remote logging service, so configure its listener, port, protocol, and firewall rules before saving these settings.
- IP: IPv4 address of the remote server. This field is required.
- Port: Port used by the remote logging service, from
1to65535. This field is required.
Secure the Connection with SSL/TLS
Select Use SSL to secure and authenticate the remote connection. When it is enabled, the SSL file and authentication value are required.
-
Select the upload icon in the SSL field.
-
Select a certificate file in PEM format (
.pem). -
In the upload window, select Upload file and wait for the upload to finish.
-
Select an Authentication mode and enter its corresponding Authentication value:
- Fingerprint: Enter a 20-byte hexadecimal fingerprint as colon-separated pairs.
- Name: Enter the DNS name from the remote server certificate, such as a fully qualified domain name.
The authentication value must identify the certificate presented by the intended remote server. Confirm the fingerprint or DNS name through a trusted channel before saving the connection.
Save the Settings
Select Save to validate and apply the configuration. If remote logging is enabled, Plaivid checks the remote IP address and port. When SSL is also enabled, it checks that a PEM file and a correctly formatted authentication value have been provided.
Select Cancel or close the window to leave without applying the changes.