Guide to Creating and Tracking a Ticket
In the ArtiNex system, every support request is submitted as a ticket. A ticket ensures that the issue description, related files, your replies, the specialist's responses, and the handling status are all kept in one place.
This guide is written for users who want to submit a new request and track its handling process.
Prerequisites for Creating a Ticket
Before starting, you must be logged into the system with an active user account. Your account must be connected to an active organizational unit, and your organization must also be active in the system.
Seeing the Tickets menu does not necessarily mean you have permission to create a ticket.
If you do not see the New Ticket button, your role may only have view permissions. In this case, contact your organization administrator or system support.
Ticket Creation Path
The overall process of submitting a request is as follows:
Log in to the system → Select Tickets → New Ticket → Complete the Form → Attach File (Optional) → Create Ticket → Track Conversation
Step 1: Open the Tickets Section
From the right sidebar, select the Tickets option.
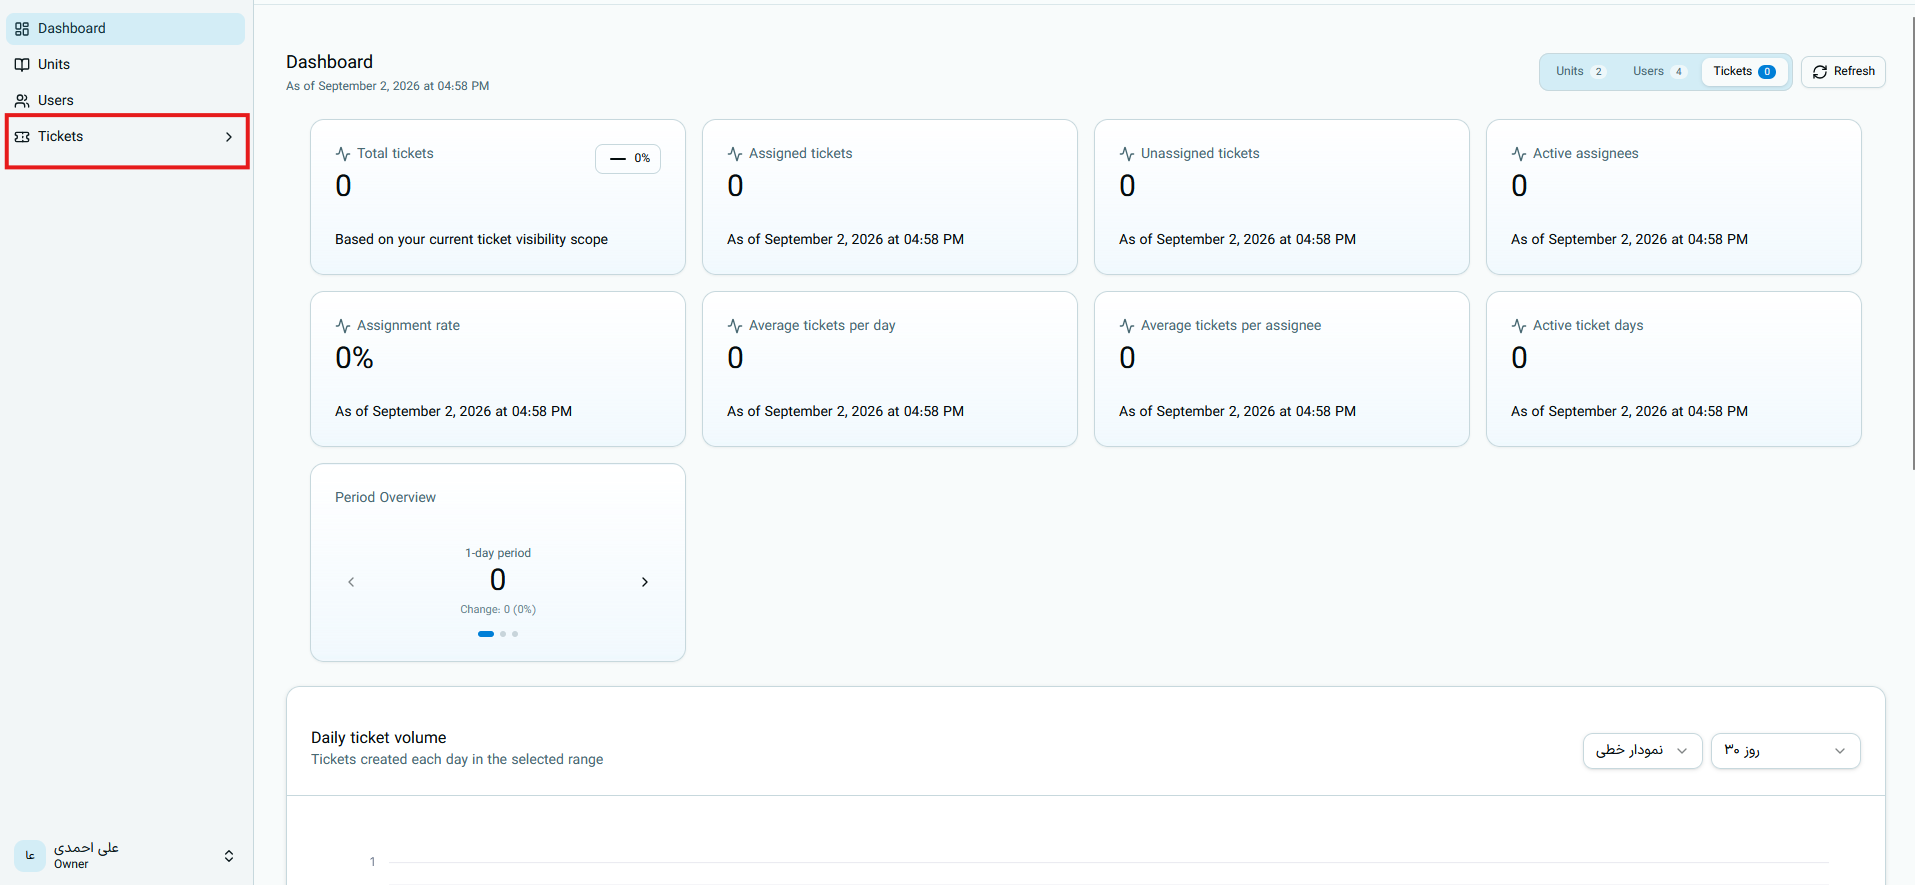
Upon entering this section, the list of tickets you are allowed to view will be displayed.
Step 2: Create a New Ticket
At the top of the tickets page, click the blue New Ticket button.
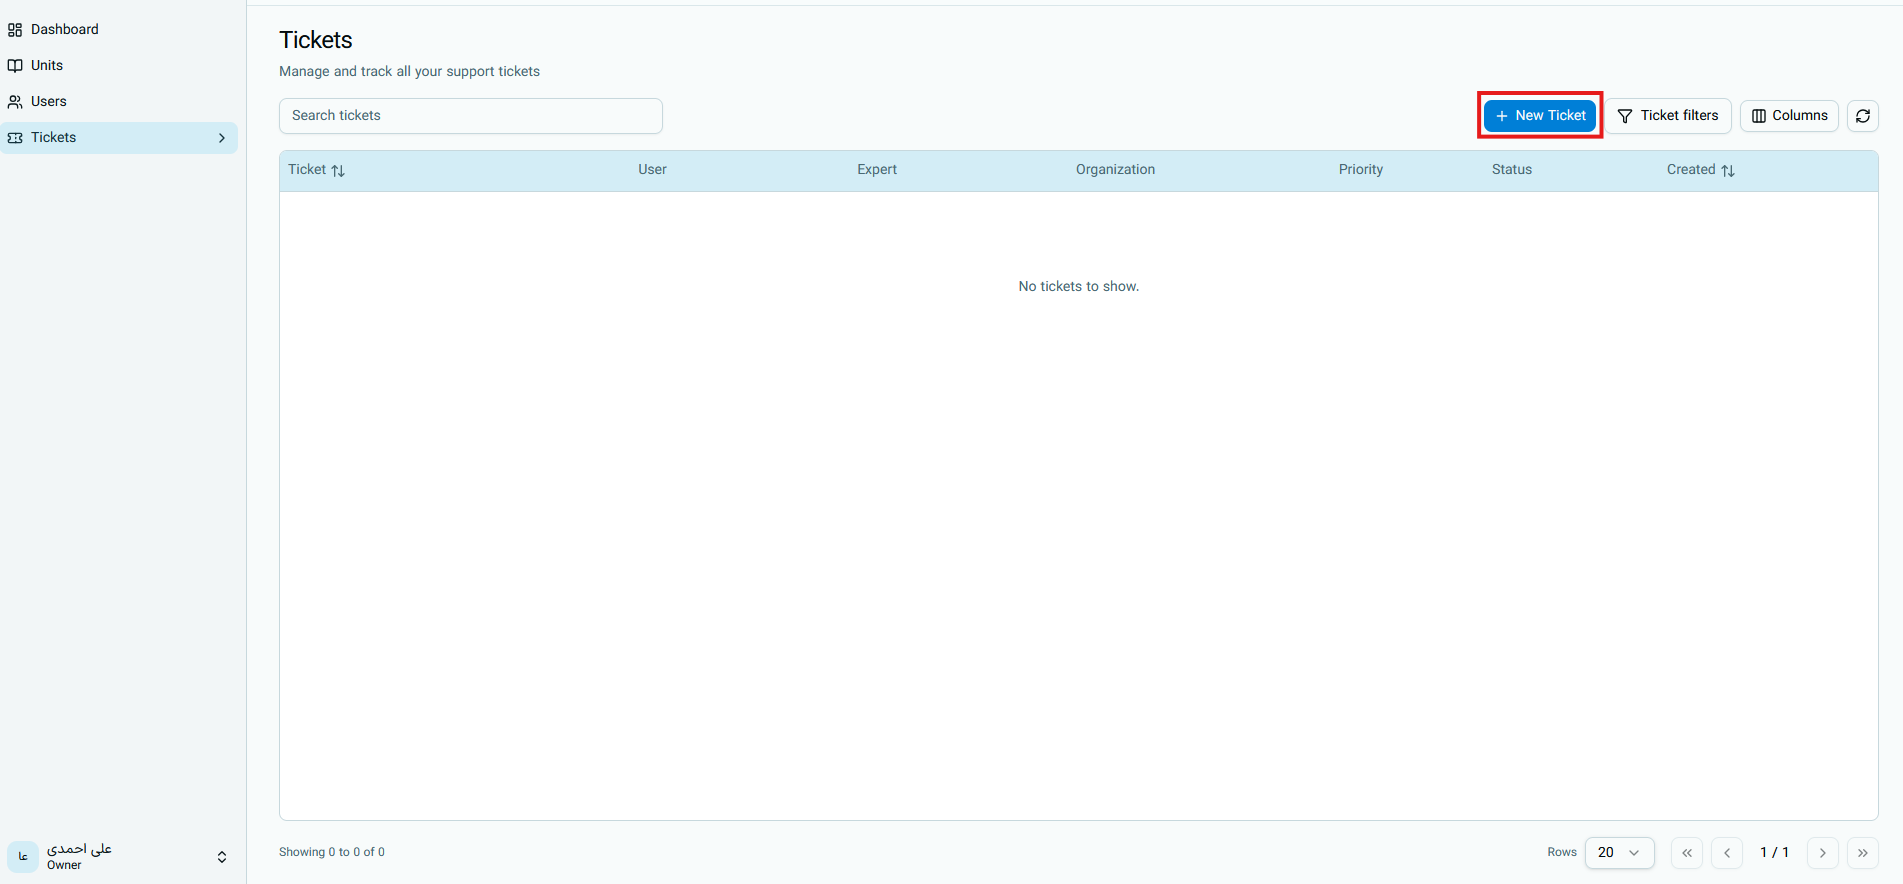
The following features are also available on this page:
| Section | Usage |
|---|---|
| Search Tickets | Find a ticket by title or readable ticket ID |
| Ticket Filters | Limit results based on status, priority, product, unit, or specialist |
| Columns | Choose which columns are displayed in the table |
| Refresh | Fetch the latest changes and replies |
| Pagination | Navigate between pages and set the number of rows per page |
The tickets table can display information such as ticket ID, user name, specialist, organization, priority, status, and creation time.
Step 3: Complete the Ticket Form
In the New Ticket form, fields marked with a red asterisk (*) are required. In the current version, Title, Unit, and Description must be completed.
Title
In the Title field, write the subject of the issue concisely, clearly, and in a searchable manner.
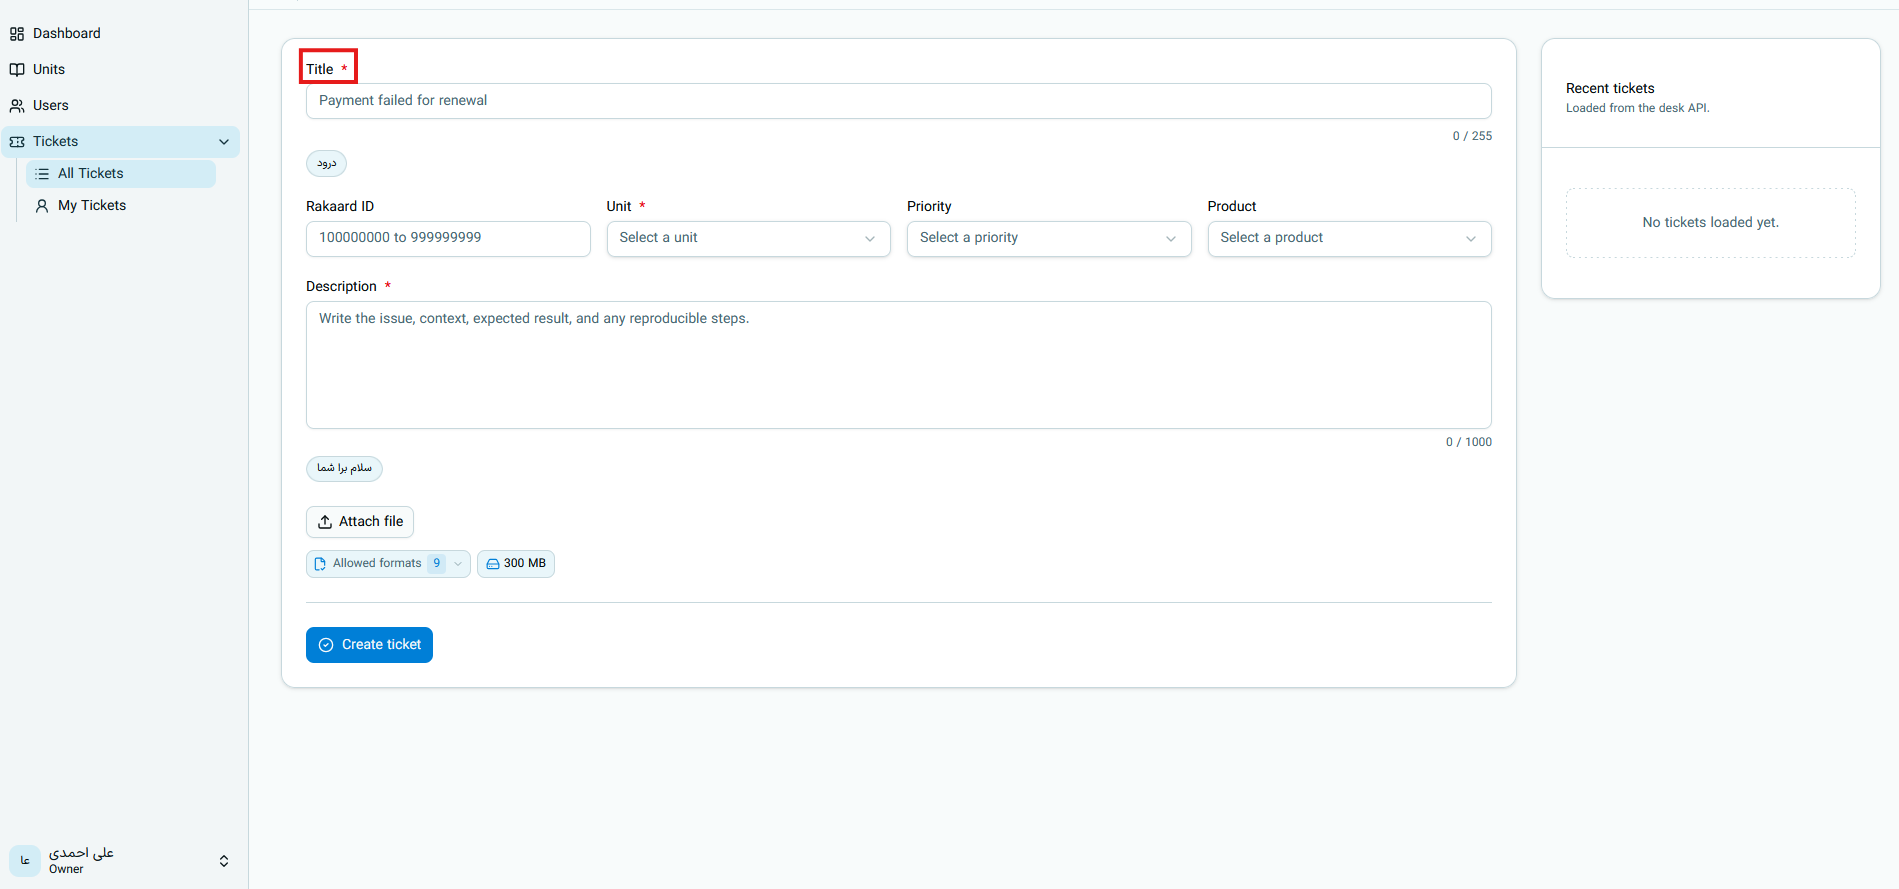
For example:
Subscription renewal payment was completed, but the service was not activated
Avoid vague titles like "I have a problem", "Urgent", or "Not working". A precise subject speeds up routing the ticket to the appropriate specialist.
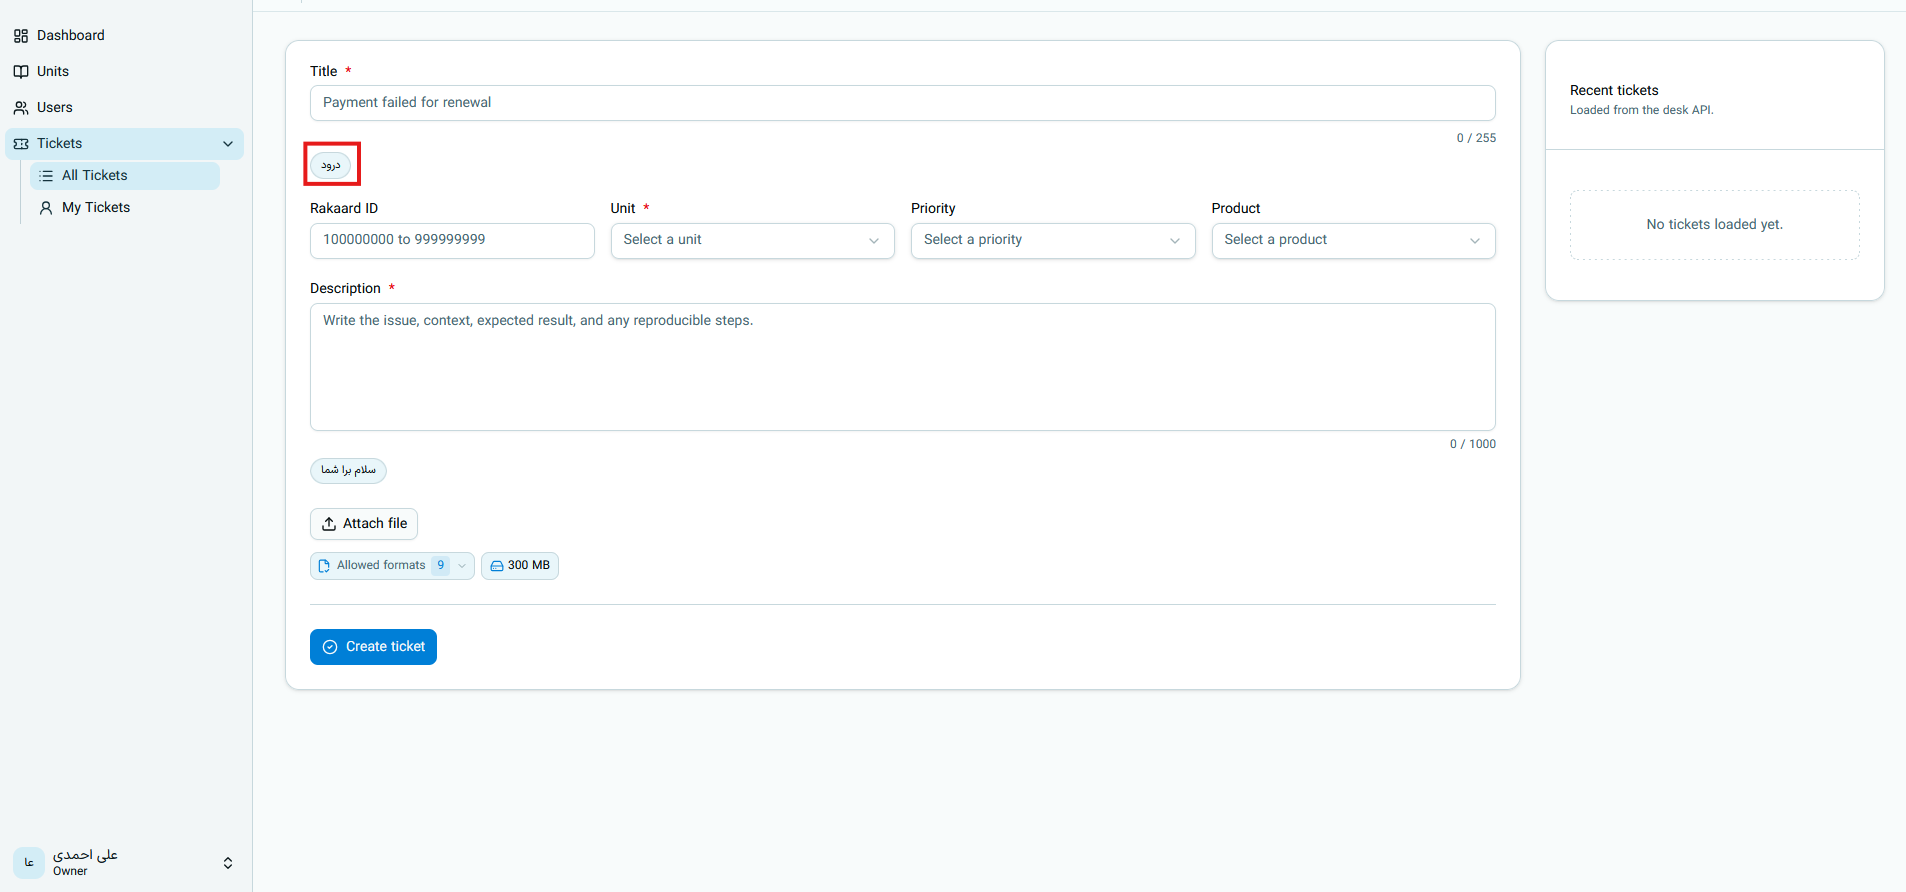
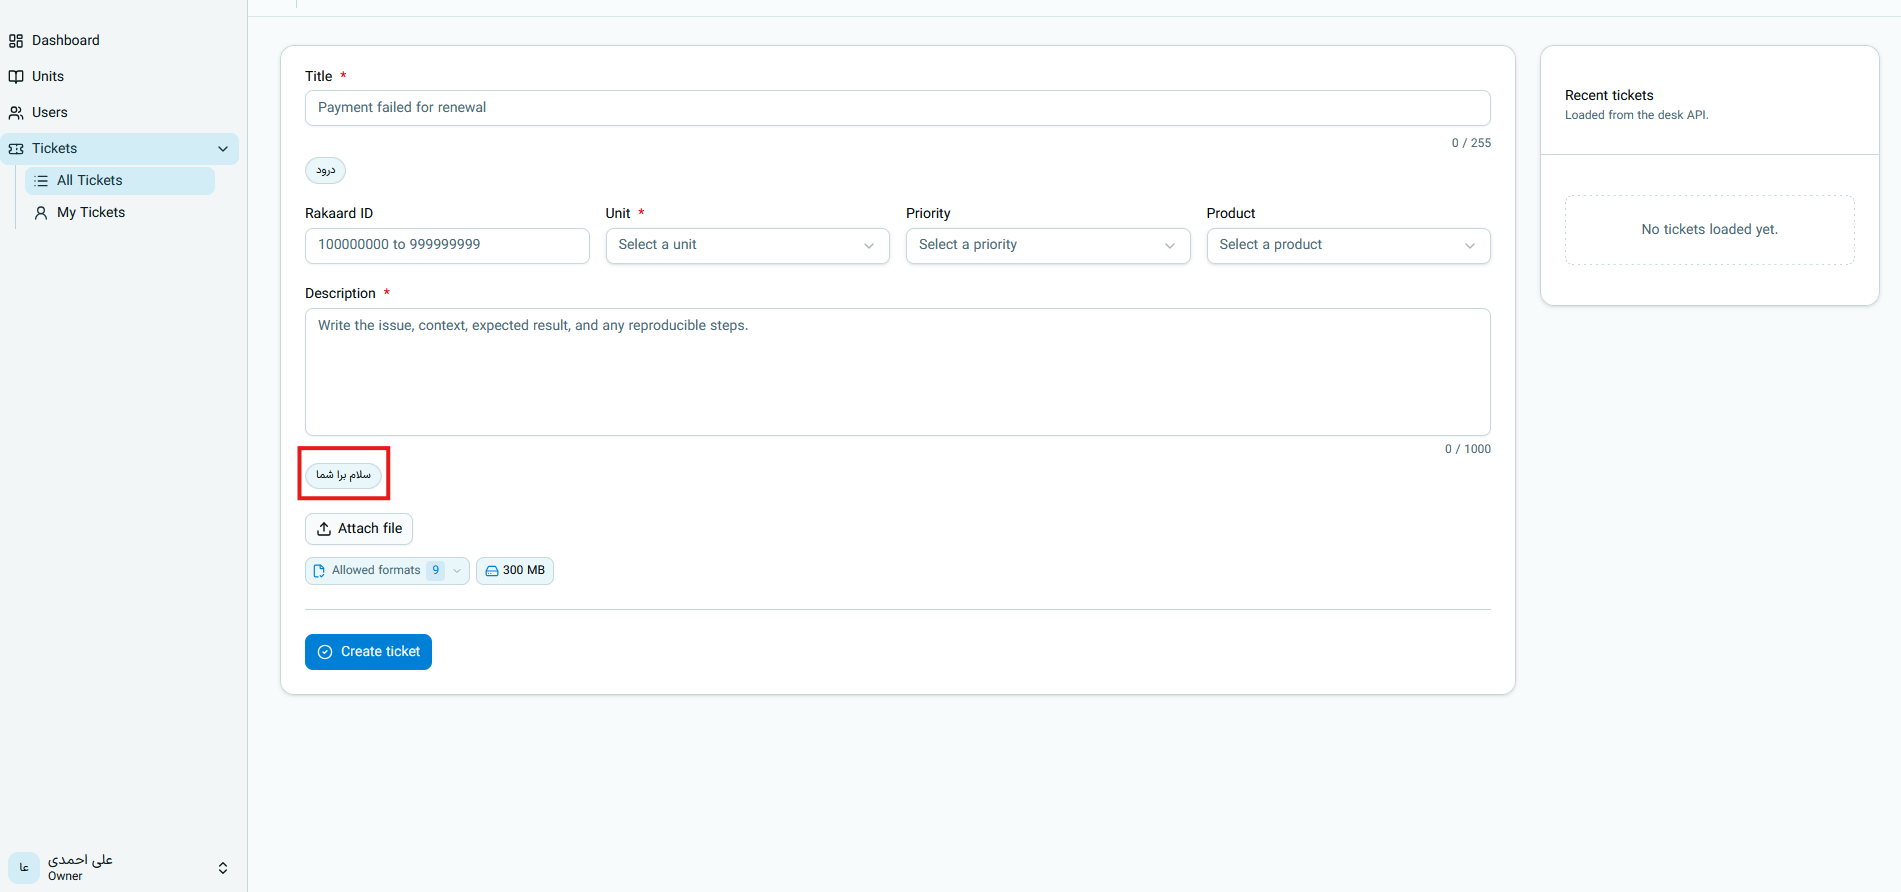
Prepared Reply: "Greeting"
The Greeting option shown below the title is a prepared reply. Prepared replies are predefined texts provided to users to write descriptions faster, and using them is optional.
Rakard ID
This field is for entering the Rakard ID so that the relevant specialist can use it to investigate and resolve the issue.
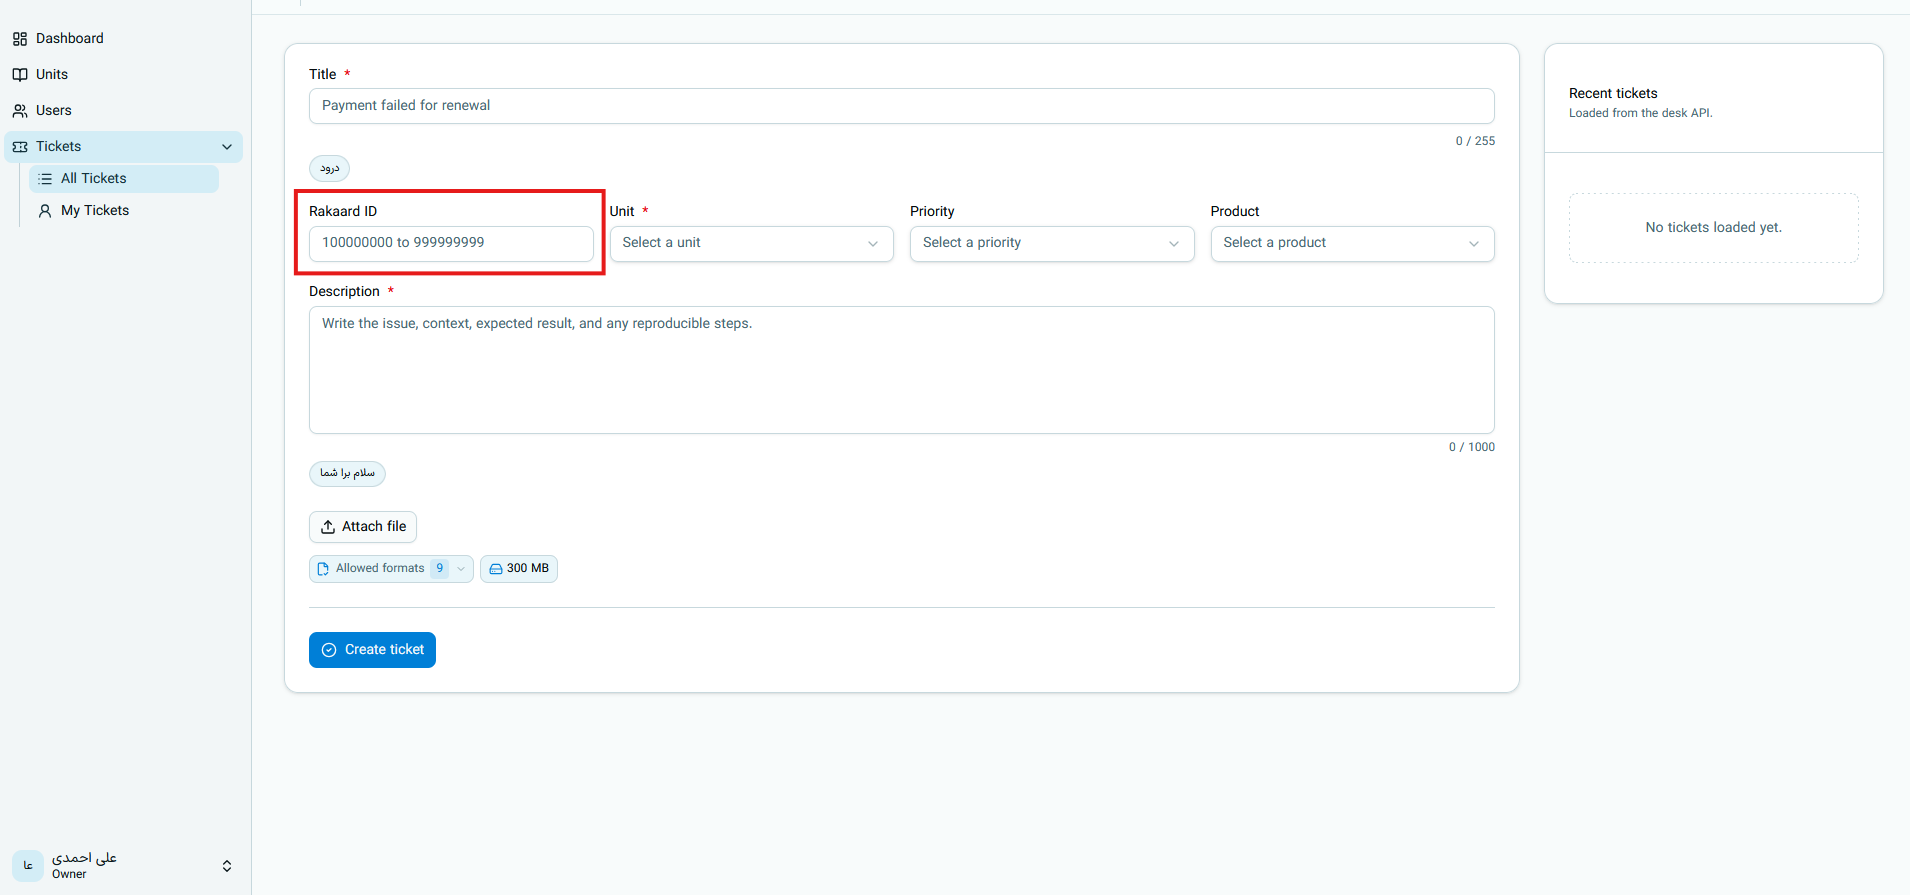
This field is optional, but if completed, it must be a 9-digit number from 100000000 to 999999999.
Unit
From the Unit list, select the department that should review the request.
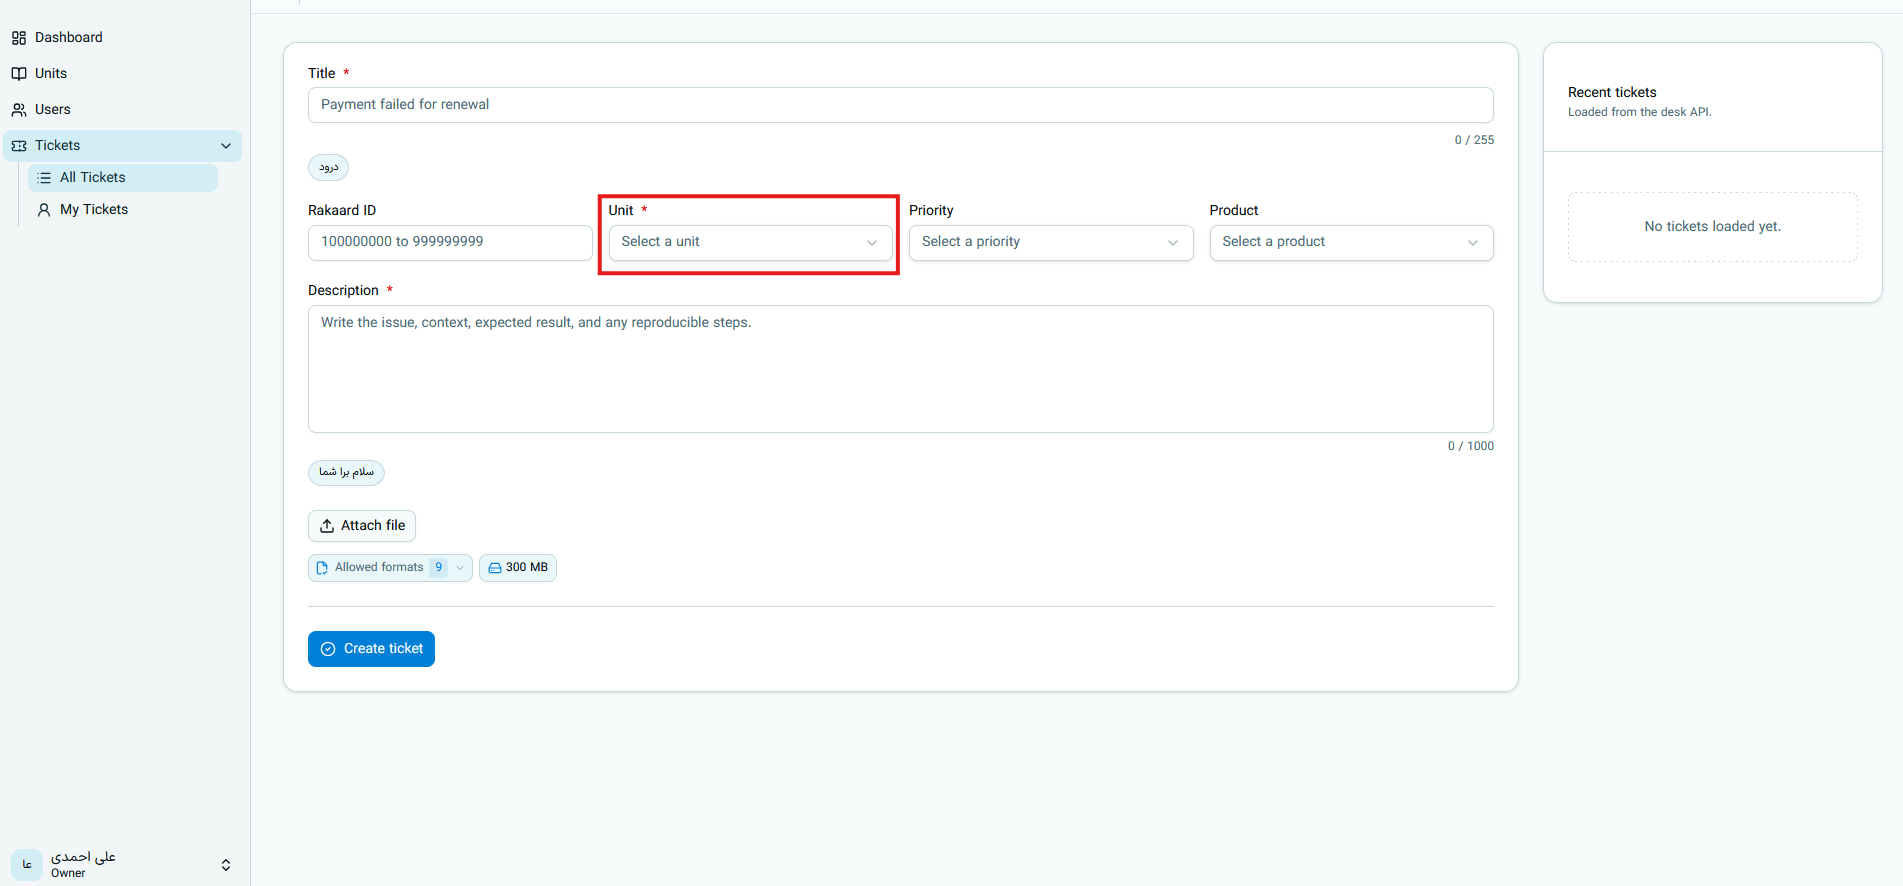
This field is required. The selected unit determines the initial routing path of the ticket; therefore, choose the department closest to the subject of your request. If you do not see the appropriate unit, discuss the matter with your organization administrator or system support.
Priority
From the Priority list, specify the urgency and impact of the issue.
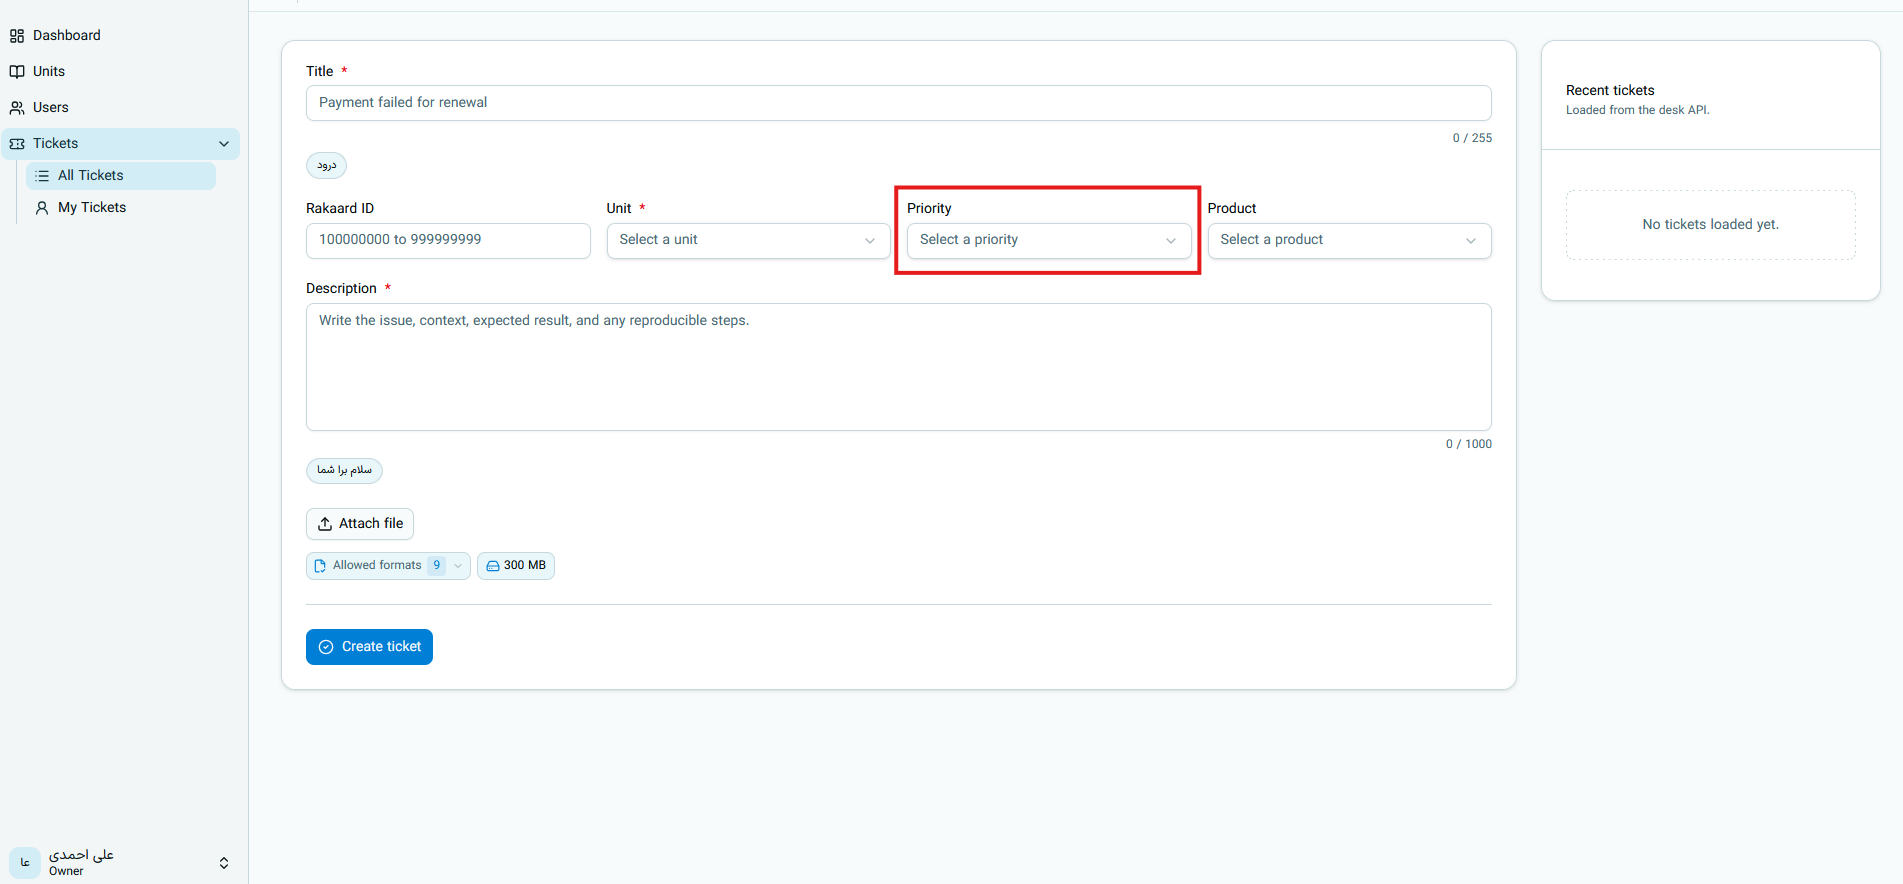
System priorities are as follows:
| Priority | Recommended Usage |
|---|---|
| Low | General request, question, or issue that does not prevent work |
| Medium | Disruption affecting part of the work, but a workaround exists |
| High | Serious disruption or stoppage of a critical process |
Selecting a priority is optional. If left blank, the system considers the priority as Medium. Select High priority only for truly impactful issues and describe the impact in the description.
Product
If the issue relates to a specific product, select it from the Product list.
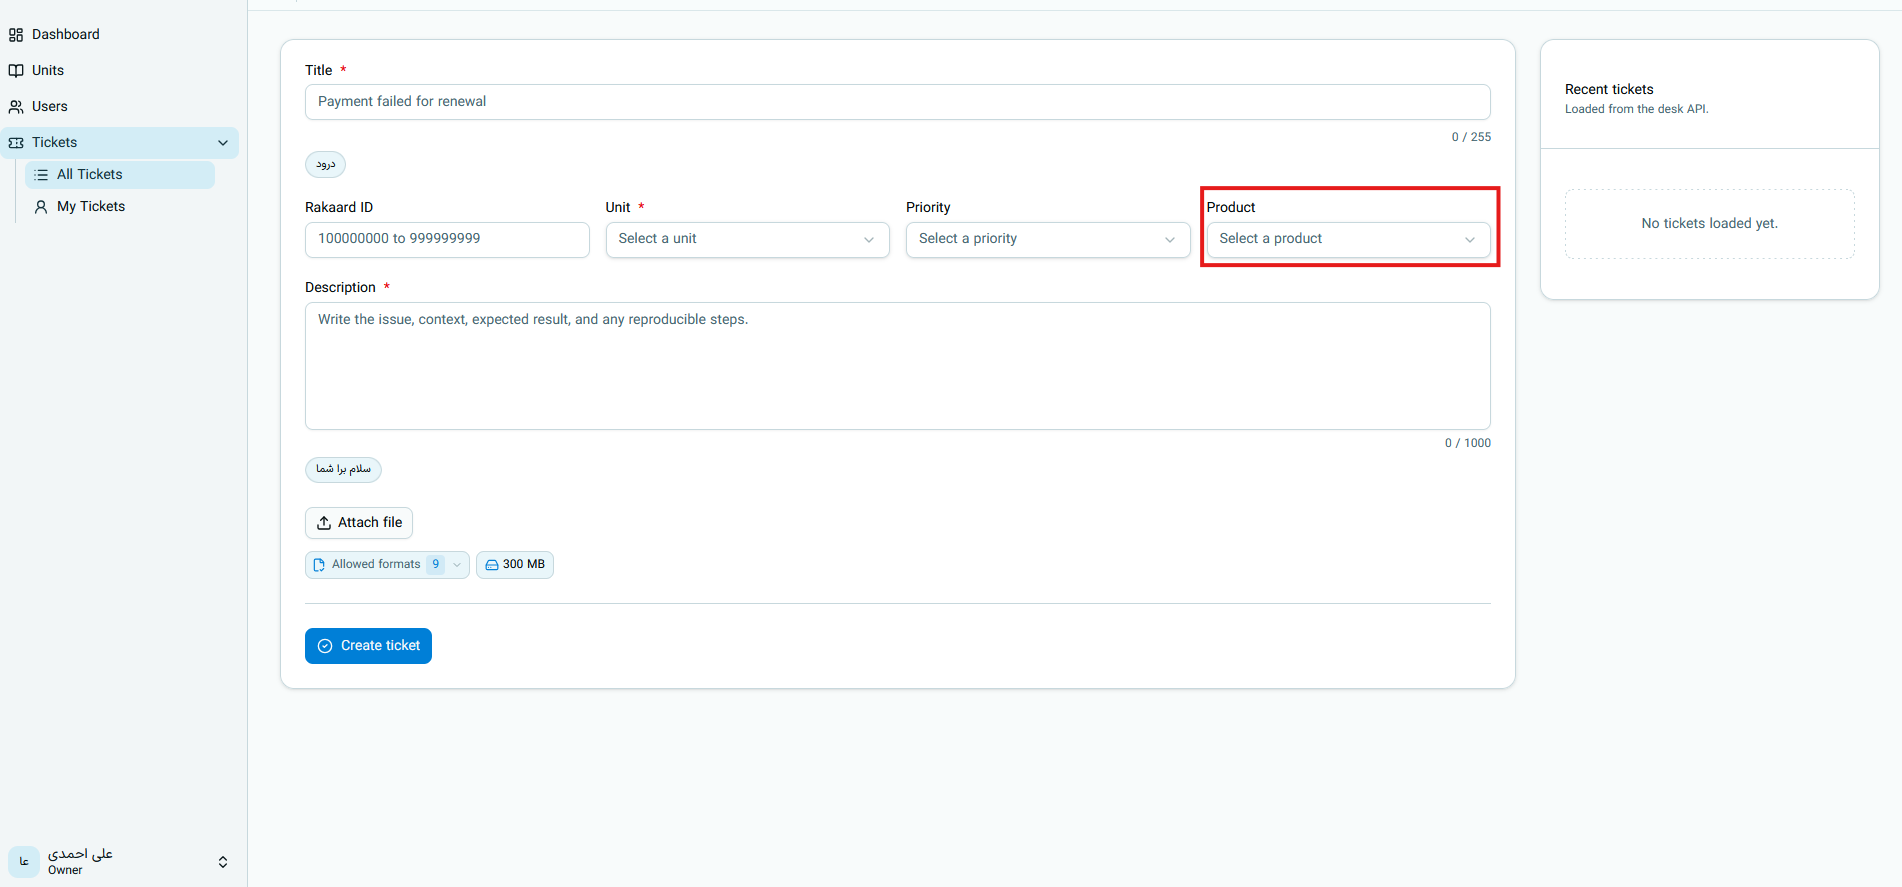
This field is optional. Only products accessible to your organization can be selected. Choosing the right product makes request categorization and routing more accurate.
Description
In the Description box, enter the information necessary to reproduce and investigate the issue.
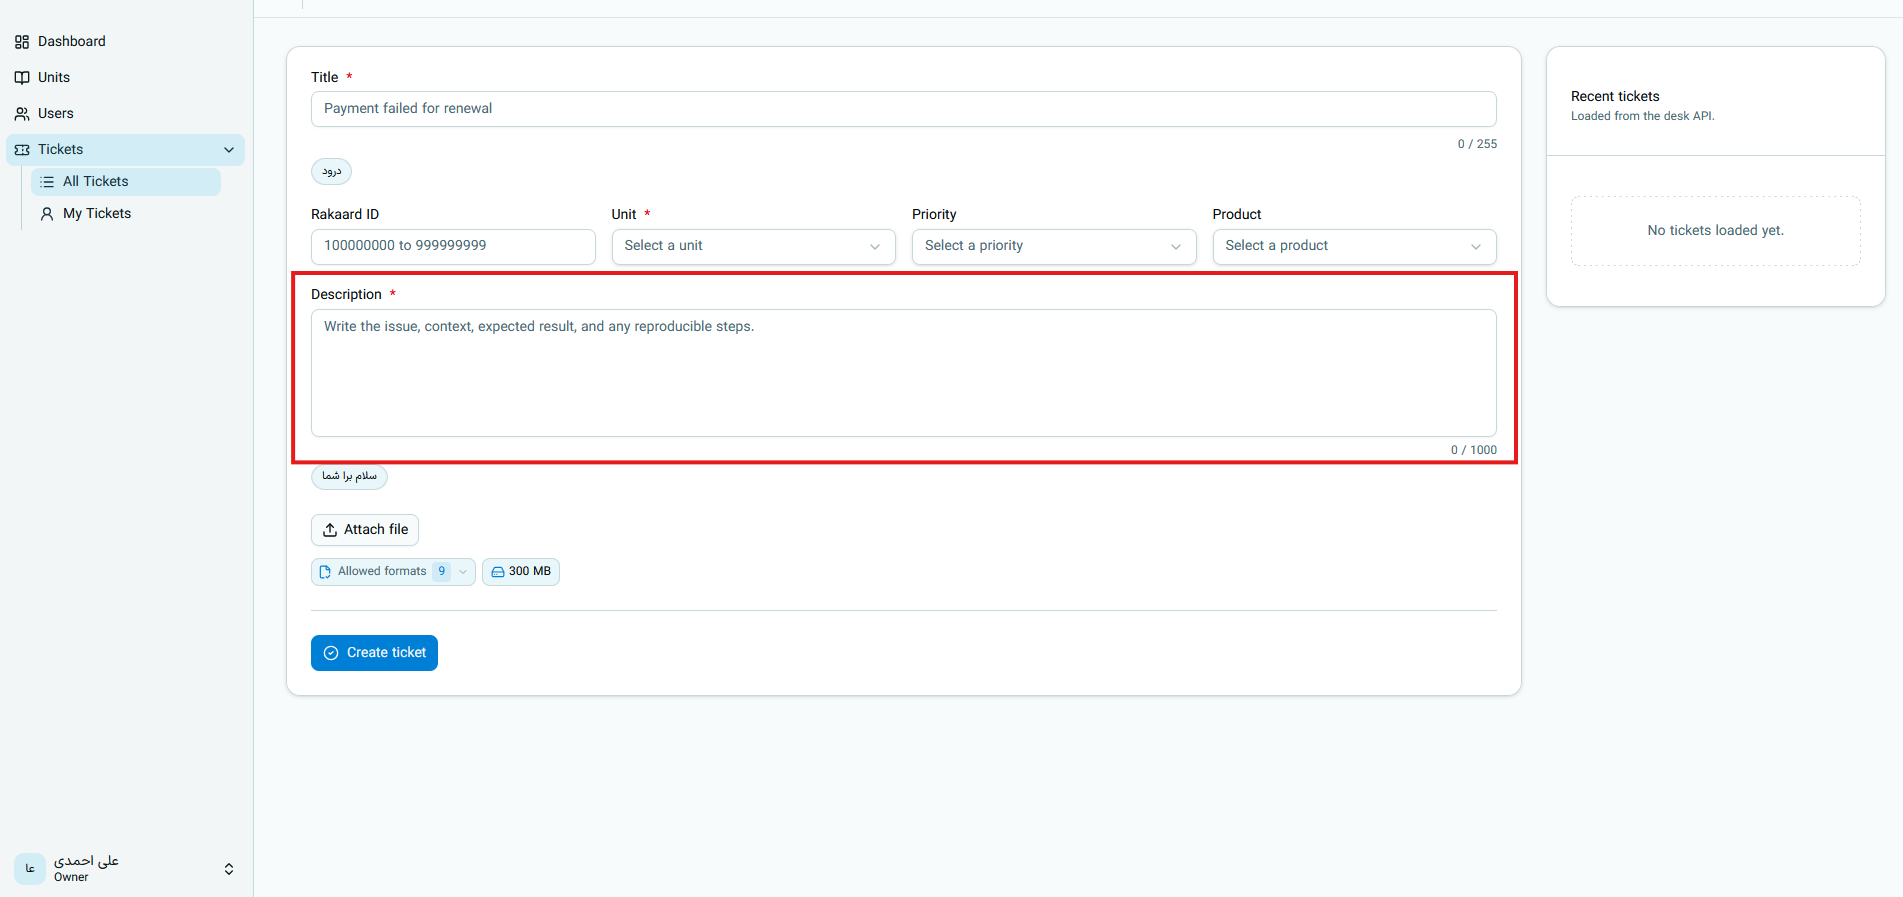
The description is required and cannot be empty. It is recommended to write the following items in order:
- What were you doing?
- What happened or what error message did you see?
- What outcome did you expect?
- When did the issue start and how many times has it recurred?
- What actions have you tried to resolve the issue?
Example of a good description:
Today, while renewing the subscription, the payment was completed successfully and the amount was deducted from the account;
however, after returning to the system, the subscription status is still shown as expired.
This issue recurred twice. I also logged out and logged back in once, but the status did not change.
I expect the subscription to be activated or the payment status to be reviewed.
Prepared Reply Text
By selecting a prepared reply, its content—for example, Hello—can be used in the form. Review the final text of the description before submitting and add your specific issue details; a greeting alone is not sufficient description for reporting an issue.
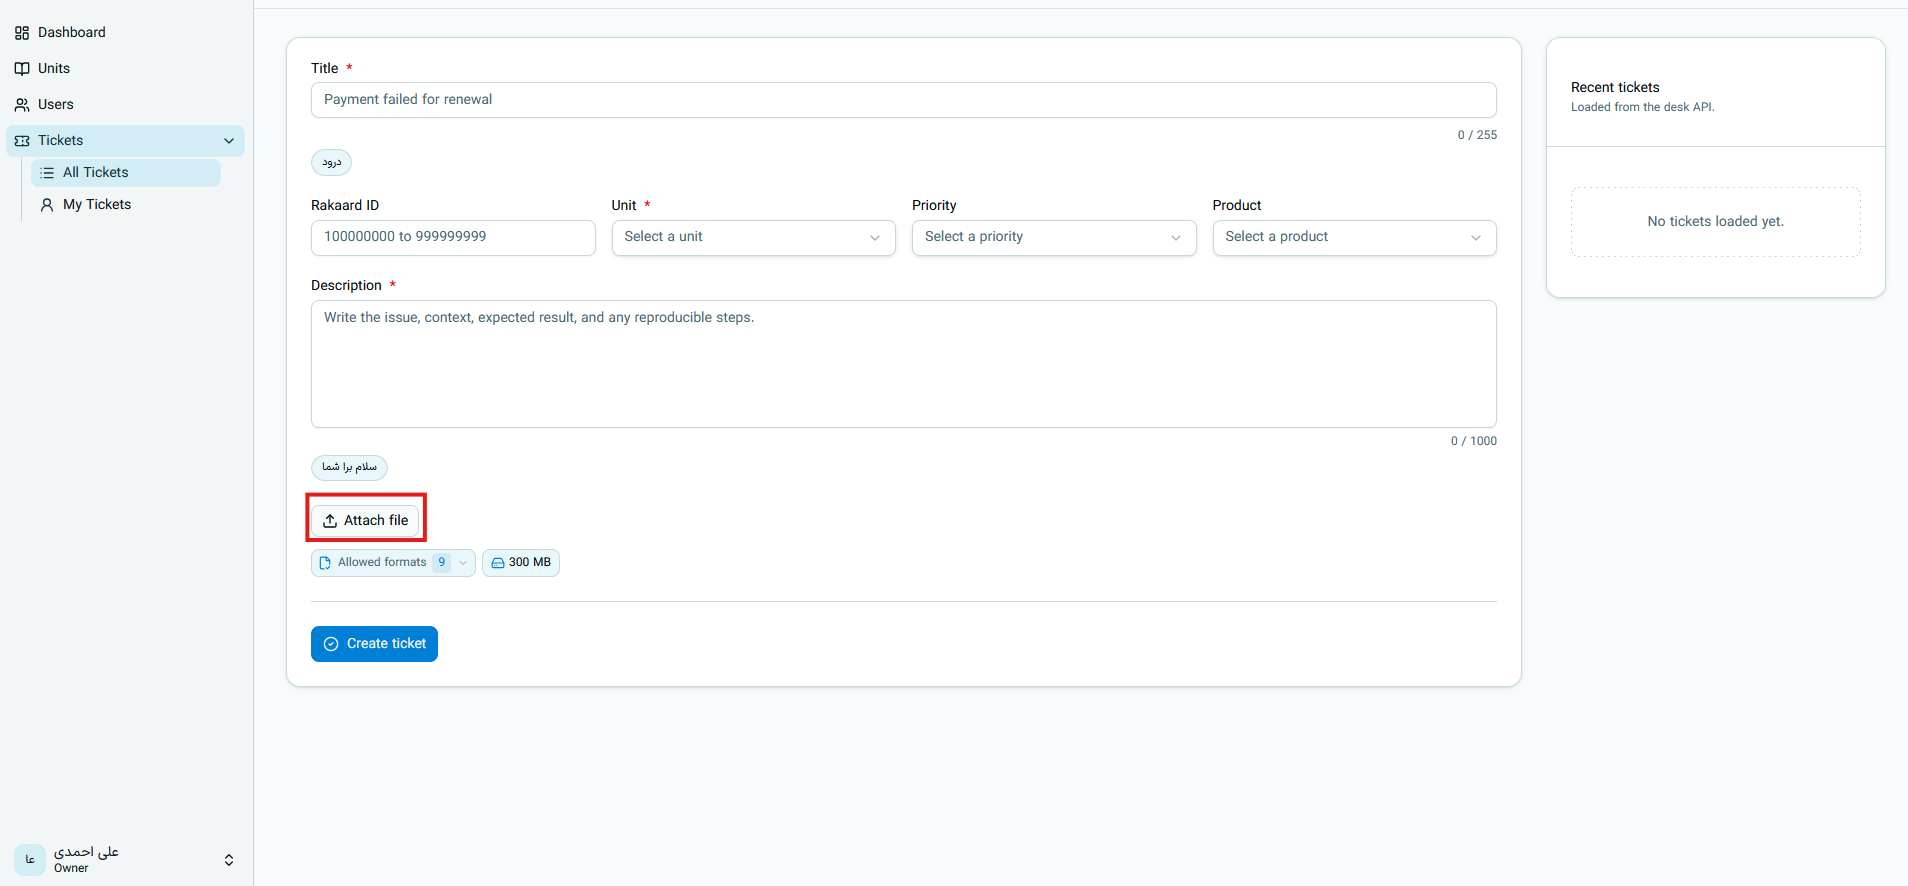
Step 4: Attach a File
To send an error image, report, or related document, click Attach File and select your file.
At the bottom of this section, the number of Allowed Formats and the maximum uploadable size are displayed.
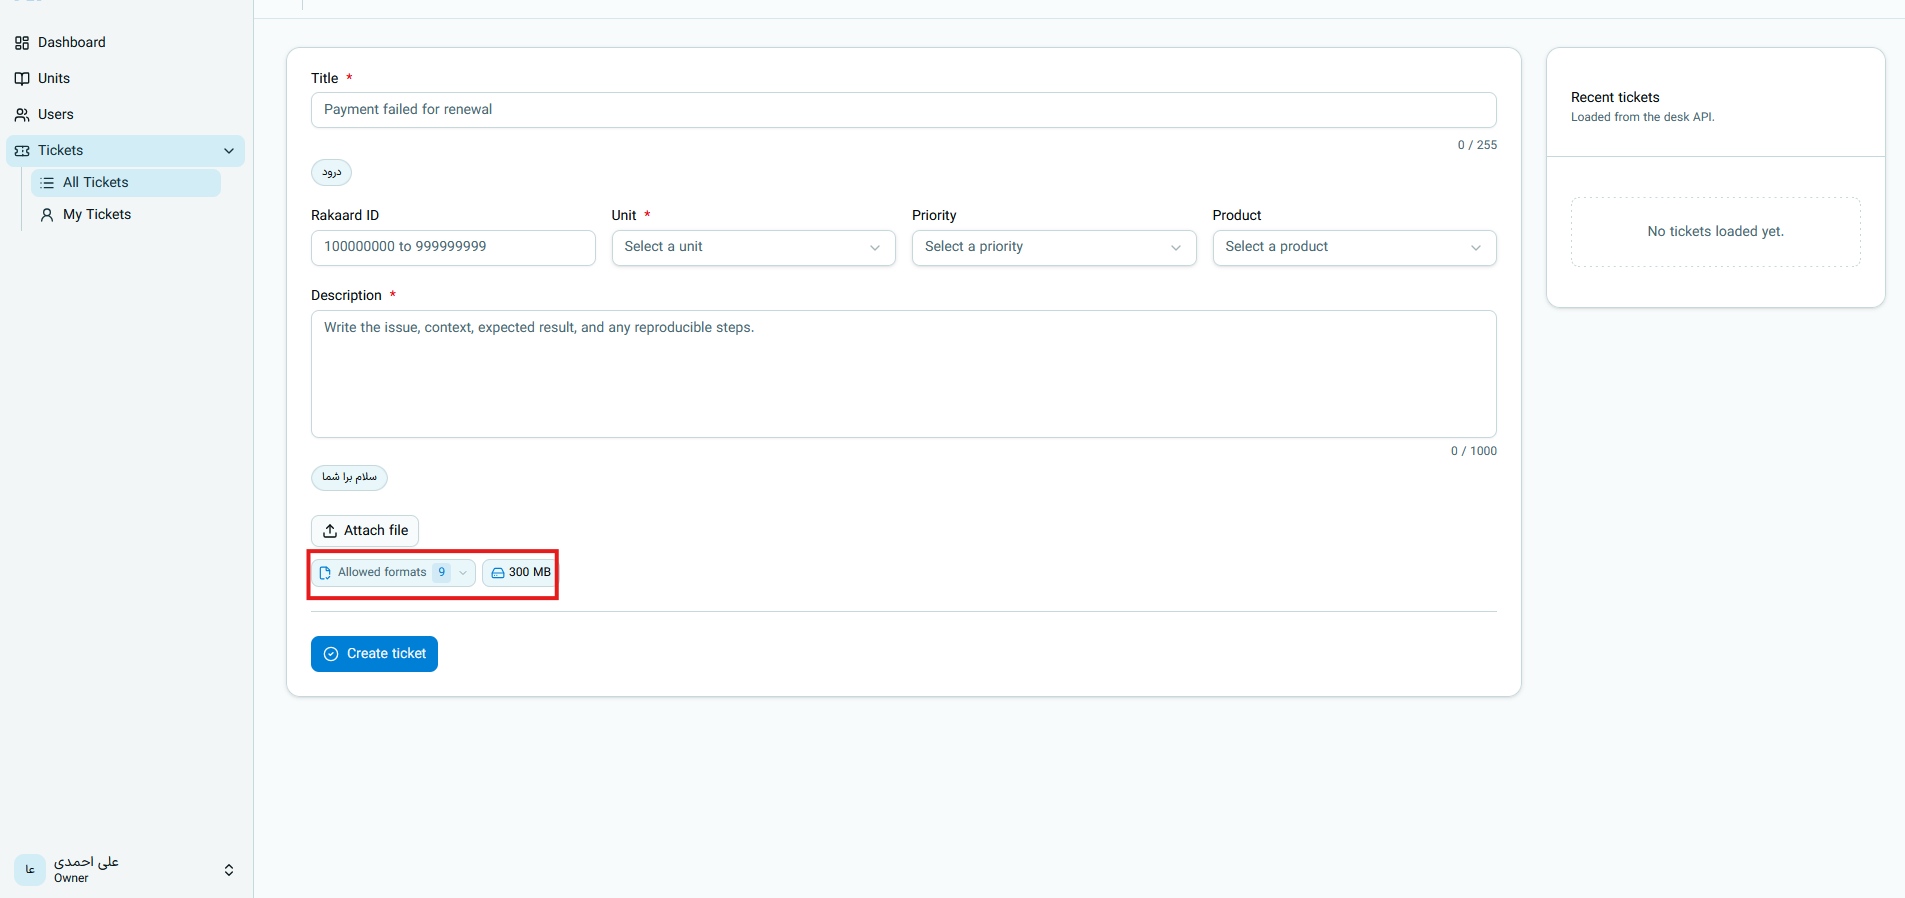
- Open the Allowed Formats list and ensure your file extension is included.
- Use the size displayed on that same page as the maximum allowed limit; this value may vary across different system deployments.
- For screenshots, keep the error message and the relevant part of the page clear, and cover unnecessary information.
Do not include confidential information such as passwords, access keys, or banking details in images or files.
Attaching files is optional. If file uploading encounters an error, check its format and size, then try again.
Step 5: Final Submission
After reviewing the information, click the blue Create Ticket button.
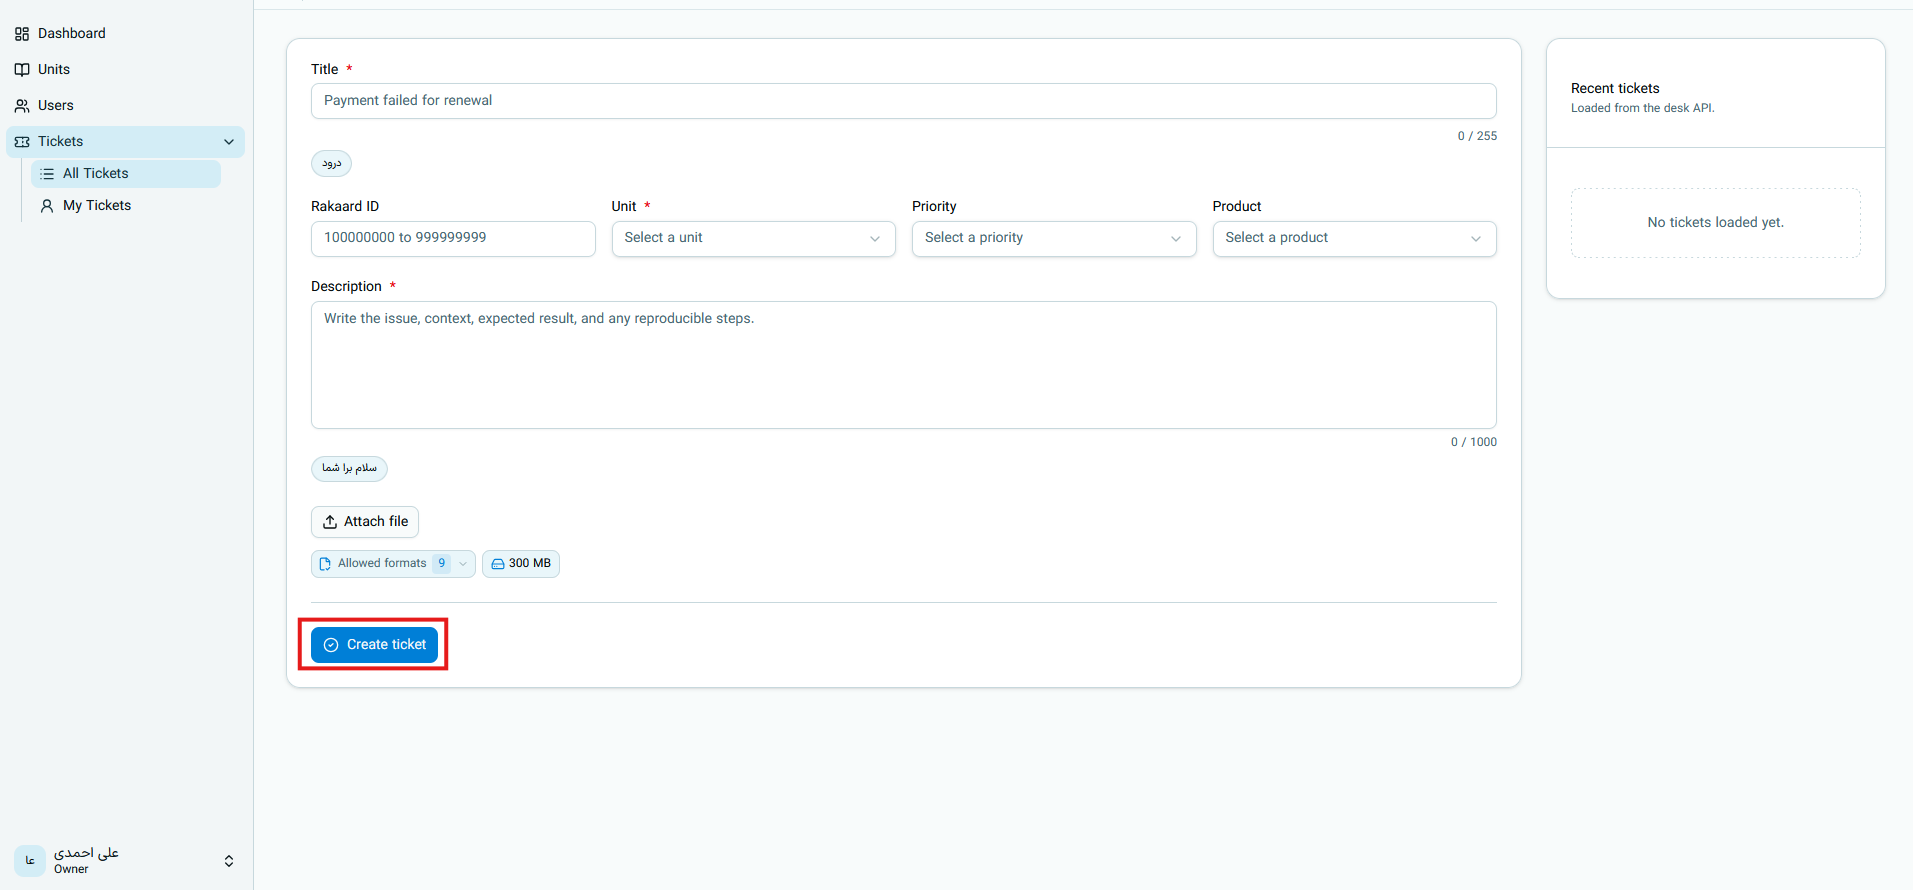
To prevent duplicate submissions, wait for the result after clicking once. If the form displays an error, correct the highlighted field and click the button again.
After successful submission:
- A readable and unique ID is created for the ticket; keep this ID for tracking.
- The initial ticket status is New.
- If you did not select a priority, Medium is recorded.
- Your description is saved as the first message in the ticket conversation.
- The request is sent to the selected unit, and upon acceptance or assignment, the responsible specialist will be assigned.
- By default, the system registers an internal 30-day deadline for the ticket; this date does not represent a definite response or resolution time.
Tracking the Ticket and Communicating with the Specialist
To follow up, go back to the Tickets section and search for the ticket by its title or ID. Then open the ticket row to view its details and related conversation.
In the ticket conversation, you can:
- View the specialist's reply.
- Send a new text message.
- If file uploading is enabled, attach files related to your message.
- Track unread messages and related notifications.
The initial description registered when creating the ticket cannot receive new file attachments.
To add files after submitting the ticket, send them along with a new message in the conversation.
Understanding Ticket Statuses
| Status | Meaning for User |
|---|---|
| New | Ticket is registered and has not yet been accepted or assigned by a specialist |
| Waiting on Specialist | The last message or action was from your side, and you are now waiting for the support team to respond |
| Waiting on Client | The specialist has replied and is waiting for your response or information to proceed with handling |
| Suspended | Handling has been temporarily paused |
| Completed | Handling has concluded or the ticket has been closed |
After a ticket is accepted, sending a new message from your side usually changes the status to Waiting on Specialist, and a response from the support team moves it to Waiting on Client.
Closing a Ticket
If the issue is resolved, the original ticket requester can close it. Doing so changes the ticket status to Completed, and the conversation history is preserved.
Accepted tickets that have had no activity for 30 days may be completed automatically. New tickets are not subject to this automatic completion. Sending an actual message in an active conversation can return a completed ticket back to the appropriate waiting status depending on the sender.
Register each separate issue in an independent ticket. Continue the same issue within the conversation of that same ticket, and do not create a new ticket for every reply.